Blog
Making a Sword Shirasaya: Beginner’s Step-by-Step Guide
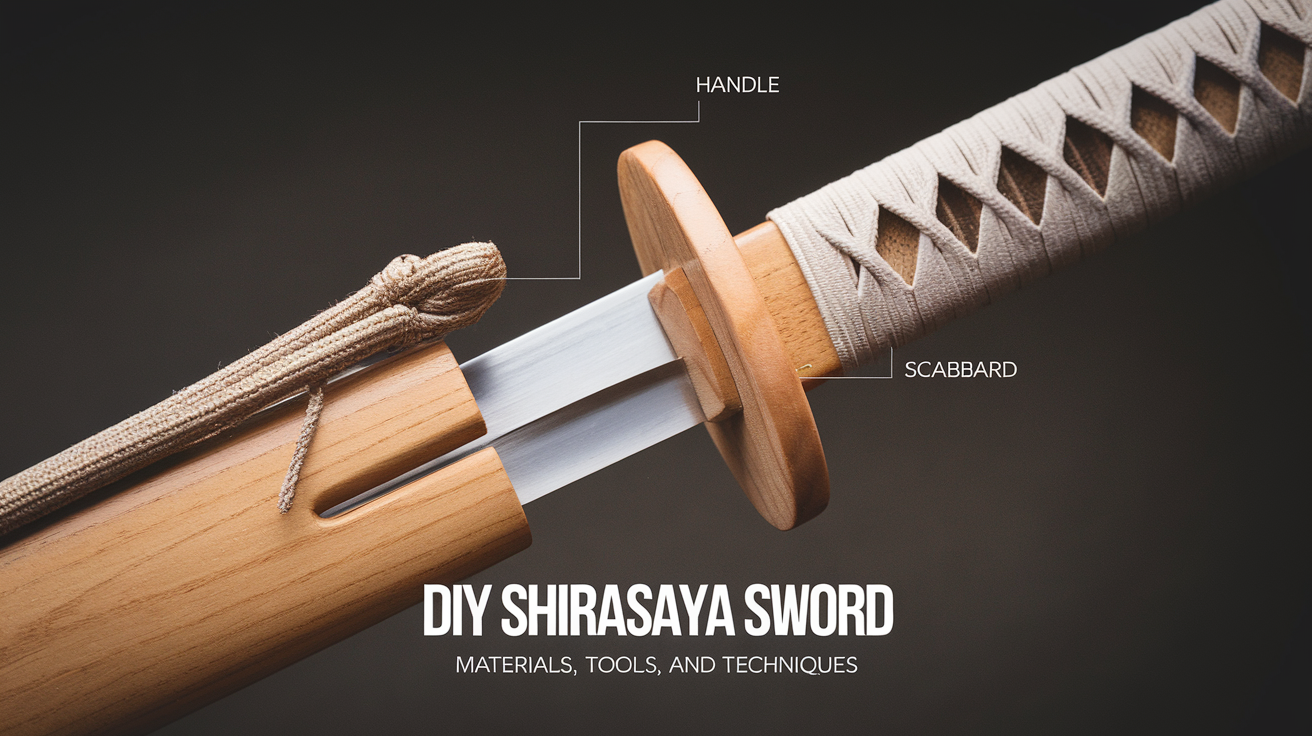
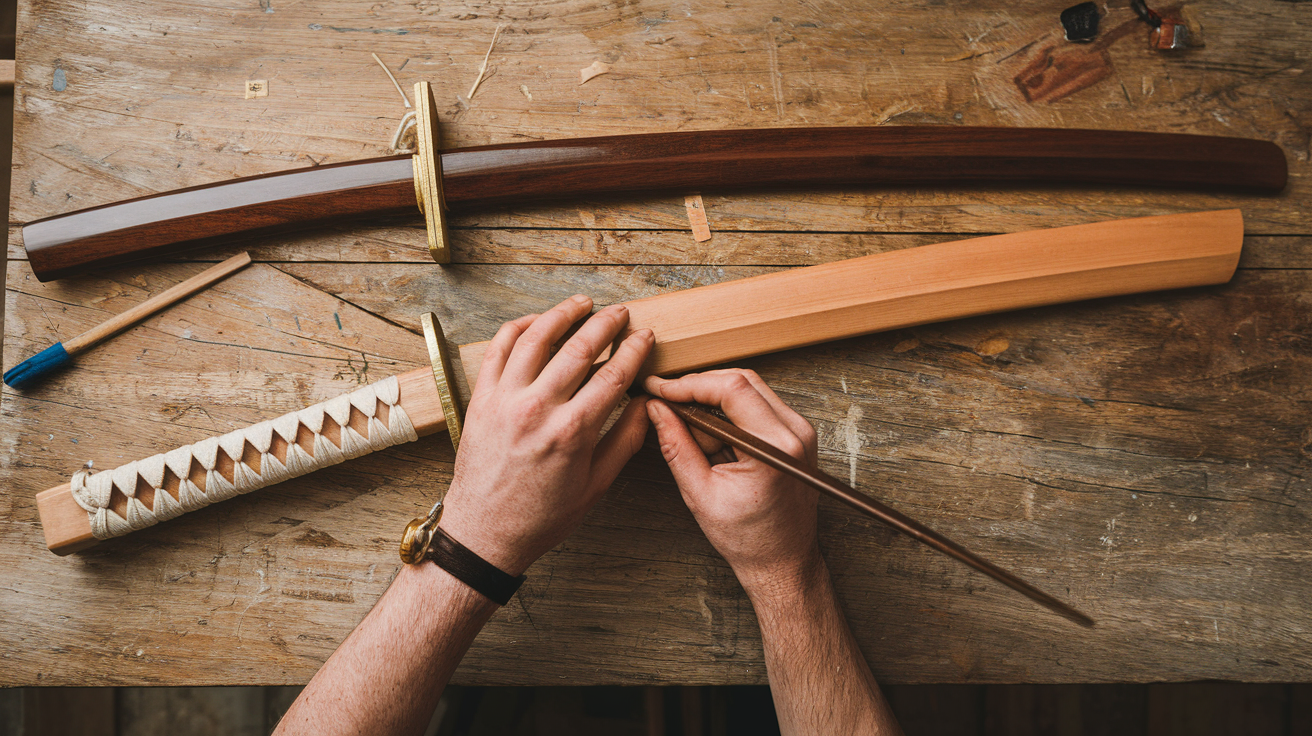
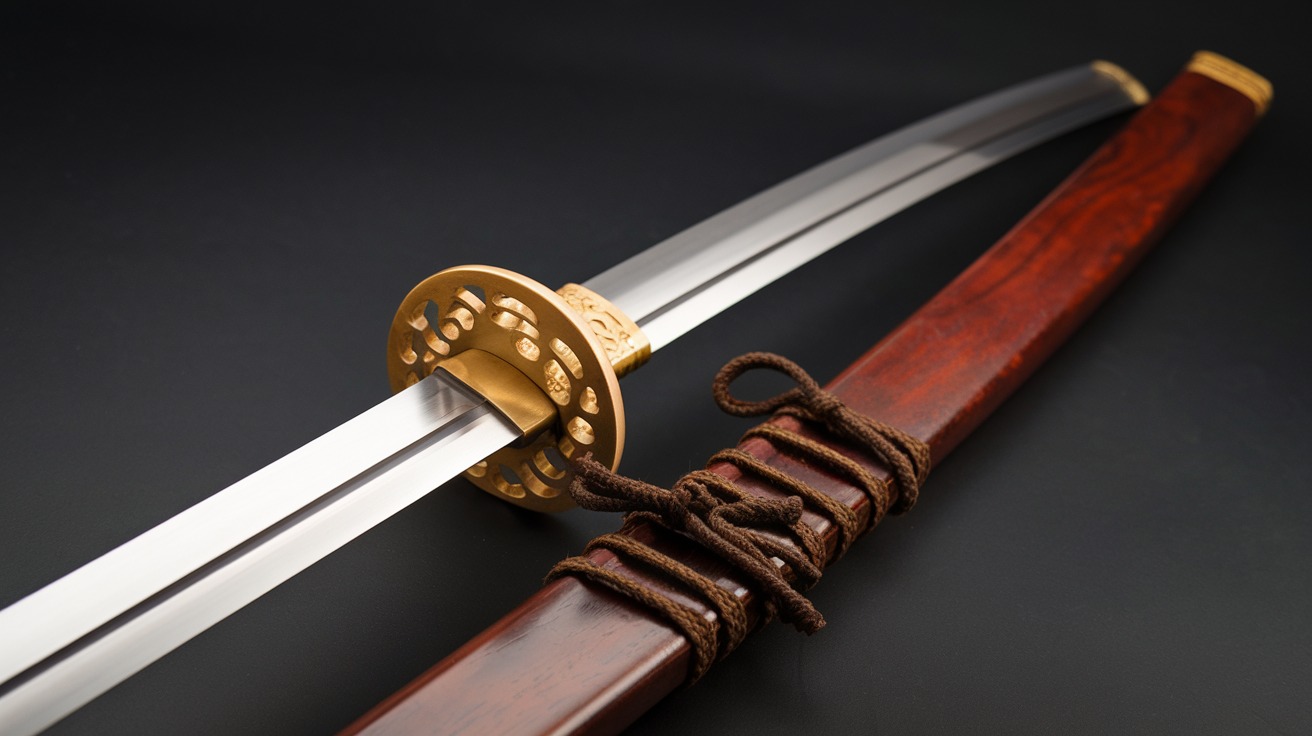
A Shirasaya is a traditional Japanese sword mount made primarily for storing and protecting the blade. Unlike typical sword mounts, it has a minimalist design and lacks the standard fittings such as guard (tsuba) and handle wrappings. Its purpose is mainly preservation rather than combat. Crafting a Shirasaya requires attention to detail, high-quality materials, and basic woodworking skills.
What is a Sword Shirasaya?
A Shirasaya (“white scabbard”) is a smooth, plain wooden sheath often used for Japanese swords like the Japanese Katana Sword, Japanese Wakizashi Sword, and Japanese Tanto Sword. Traditionally, Shirasaya are made from lightweight wood such as Honoki (Japanese magnolia) because of its moisture-resistant properties. This wood prevents rust and provides excellent blade protection, making Shirasaya ideal for long-term storage.
Materials and Tools You’ll Need to Make a Shirasaya
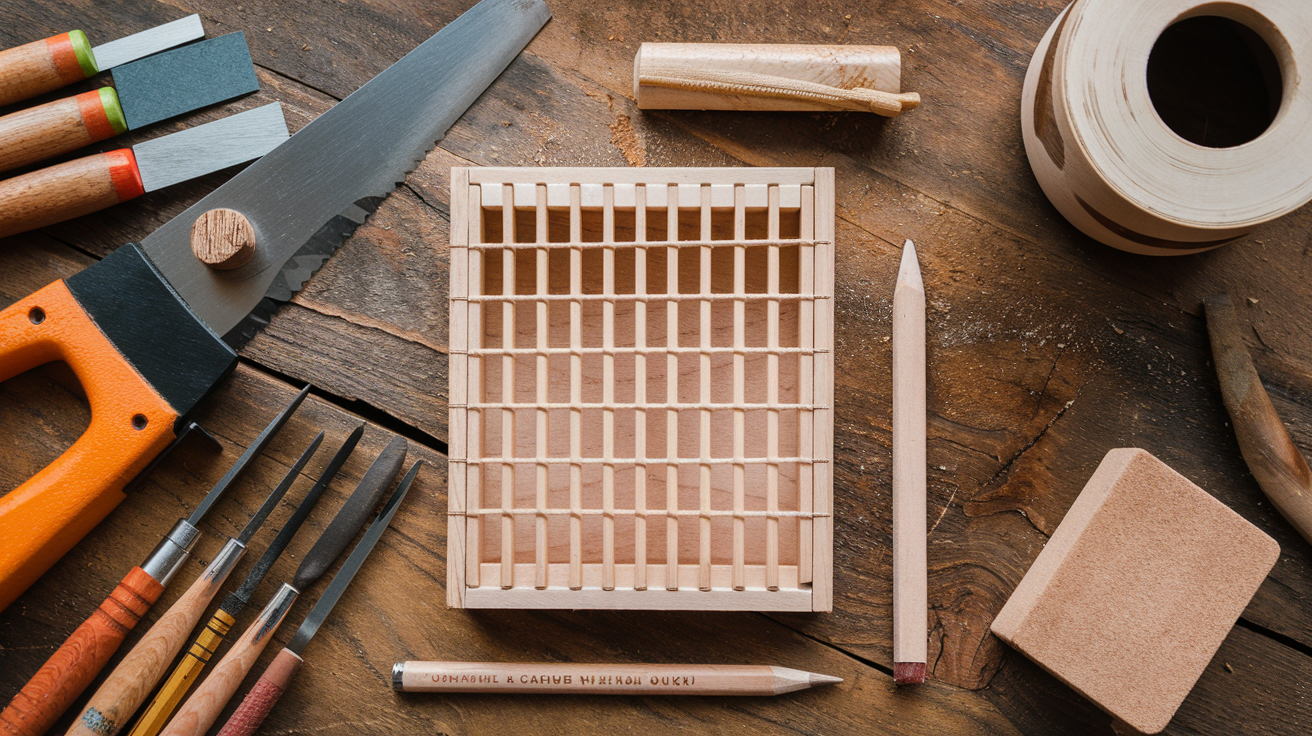
To create a traditional Shirasaya, you’ll need the right materials and tools:
- Hinoki wood (or a similar lightweight wood)
- Hand saw for precise cuts
- Chisels of different sizes for carving
- Sandpaper (various grits for finishing)
- Wood glue for assembly
- Ruler and pencil for marking
- Sanding block for final touches
- Varnish or wood oil (optional for finishing)
Step-by-Step Guide to Making a Sword Shirasaya
1. Measure and Plan the Shirasaya
- Before starting, measure the length and width of your sword blade to ensure the Shirasaya fits properly.
- Use the blade length to determine the dimensions of the Shirasaya. Add a bit of extra space around the blade to allow for expansion and easy sheathing.
2. Cut the Wood for the Scabbard and Handle
- Select a straight-grain piece of Honoki wood that matches the length and width of your blade.
- Divide the wood into two halves lengthwise, one for the handle (tsuka) and the other for the scabbard (saya).
- Use a hand saw to cut the wood carefully, making sure each piece aligns when brought together.
3. Carve the Blade Channel
- Carving the inside of the Shirasaya, where the blade will sit, is crucial. Begin by marking the blade’s outline on both halves of the wood.
- With a chisel, carve a narrow channel in both wood pieces to accommodate the blade’s thickness. Be cautious not to carve too deeply, as this may create a loose fit.
- Test the fit frequently by placing the blade in the channel. It should sit snugly without much movement.
4. Shaping the Shirasaya’s Exterior
- Once the interior channel fits the blade securely, start shaping the exterior of the Shirasaya. A rounded, sleek form is traditional, but make sure to leave enough wood thickness to protect the blade.
- Sand down the edges and corners for a smooth finish, using progressively finer sandpaper to get a polished look.
5. Joining and Gluing the Halves Together
- After shaping and ensuring a perfect fit, apply a thin layer of wood glue to both carved halves.
- Press the halves together and clamp them tightly to dry. This will create a seamless, strong bond.
- Allow the glued wood to set for at least 24 hours to ensure maximum strength.
6. Final Sanding and Polishing
- Once the glue is dry, check for rough spots, and sand them down with fine-grit sandpaper. This step is essential for achieving the sleek look characteristic of a Shirasaya.
- Optionally, you can apply wood oil or varnish to protect the wood and bring out its natural luster. However, traditional Shirasaya often have an untreated finish to allow the wood to breathe.
Tips for Maintaining Your Shirasaya Sword
After making your Shirasaya, it’s important to maintain it correctly:
- Avoid Moisture: Honoki wood is moisture-resistant, but excessive moisture can still cause warping or mold. Store your Shirasaya in a dry place.
- Oiling the Blade: To prevent rust, apply a thin layer of oil to the blade before storing it in the Shirasaya.
- Inspect Regularly: Check the Shirasaya and blade every few months for any signs of rust or deterioration.
Why Choose a Shirasaya for Your Sword?
Not only is a Shirasaya a form of storage, but it proves very useful for preserving the edge of the blade and maintaining its quality. The pommel’s style complements the blade’s artistic shape and does not generously divert one’s attention to either the steel guard or the scholars’ work of the sword itself. There being no extra fittings, the Shirasaya is a light category that is easy to carry and recommended for safe storage for long periods.
Final Thoughts on Making a Sword Shirasaya
It may look daunting to make a Shirasaya but the more you engage in the process the more The procedure becomes refined. Not just a cosmetic addition to protecting the blade from dust or scabbard wear, a good Shirasaya has a timeless appeal to your sword collection. If you have followed this guide and employed all the appropriate materials, then, producing a properly aesthetic and functional Shirasaya will add both value and beauty to your sword.
